

Hey everyone, welcome to The Tech Fix’s first blog!
In today’s article, I will be showing you how to set up your newly purchased domain name in Microsoft 365. By the end, you should feel comfortable doing hundreds of these and may also feel less anxious doing it
Topics Covered:
- Prerequisites
- Setting up Microsoft 365 tenant
- Adding/Editing custom DNS records
- Frequently Asked Questions
Let’s begin!
Prerequisites
- Own a custom domain purchased via a Registrar
If you don’t already have one purchased, you can purchase one from a multitude of registrars for example:
- domain.com
- 123-Reg
- Cloudflare
- GoDaddy
- Names.co.uk
- Bluehost
More details can be found here about the best registrar for you here
Setting up your Microsoft 365 tenant
To set up a Microsoft 365 Tenant you’ll just have to head over to https://signup.microsoft.com/
The website should look a little like this:

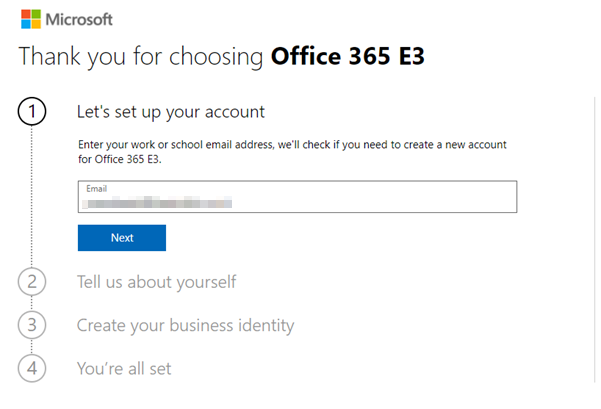
Once you’ve reached the setup page , click on ‘Create a work or school account’ and it should direct you to the form below.
Enter the email address for your new work or school account in the ’email’ field:
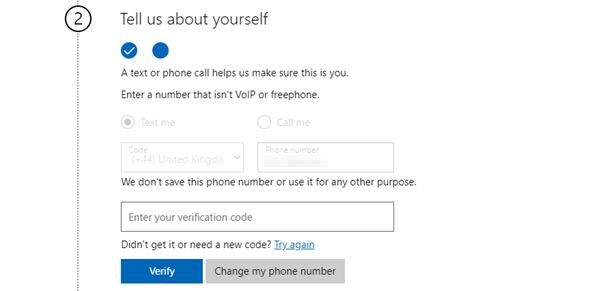
You’ll then have to verify you’re human by entering a contact number to get a verification code:
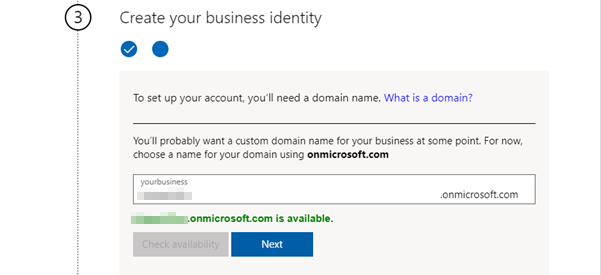
Here is where you’ll be creating the default domain to sign into Microsoft 365 for the first time:
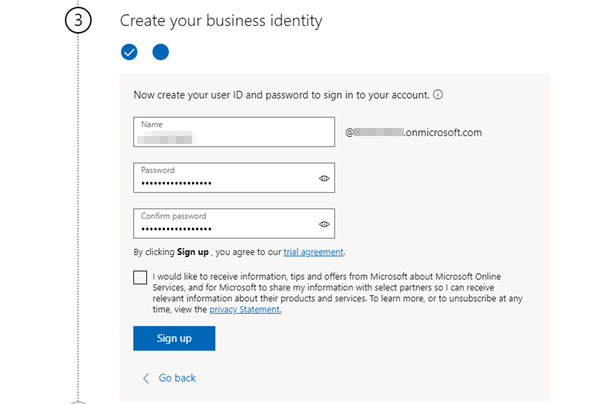
You’ll then need to enter the username and password for the main Global Admin account (we’ll change it to the custom domain later):
Finally, you will receive a confirmation that this trial account has been setup and you can go straight into managing your new tenant:
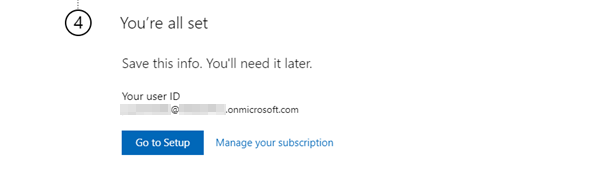
‘Go to setup’ should redirect you to a login page, but if it doesn’t you can go to portal.office.com and login with the details provided earlier to access your newly created tenant.
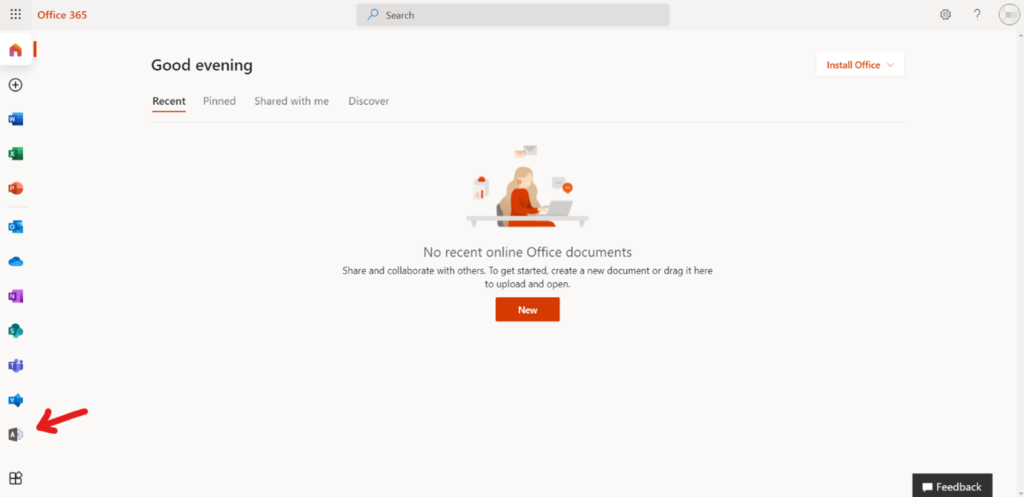
Once logged in, you can go straight to the admin center by clicking on the Microsoft 365 admin center logo:
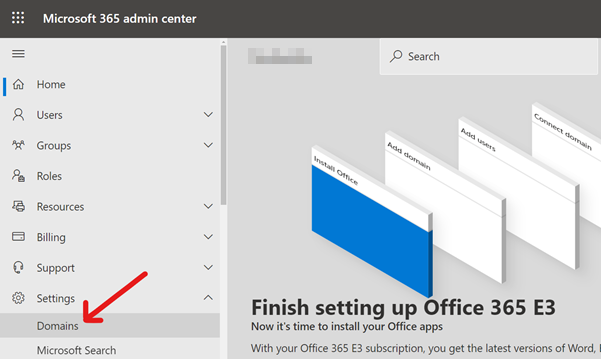
Here you can go to Settings > Domains:
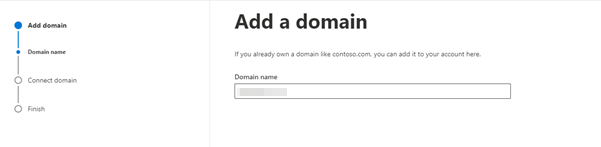
Then click on ‘Add domain’:
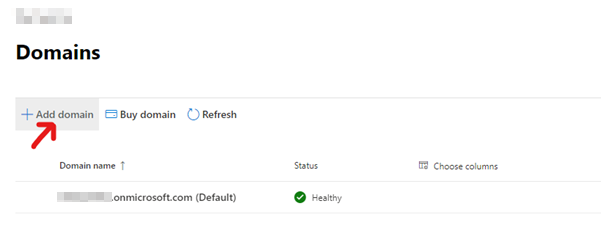
You’ll then need to enter your custom domain:
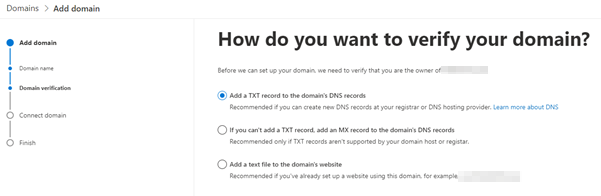
Once entered, you’ll need to prove that you own the domain, the most common way of this is to add a TXT record to your DNS record. This is done on your DNS provider’s portal, most likely under the DNS section:
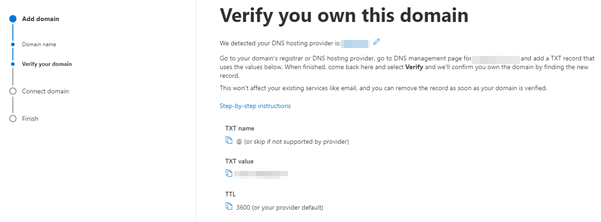
Microsoft will provide you with the TXT details to add. To make sure you add this correctly, you can click on the clipboard icon to copy it, and paste it in your provider’s portal:
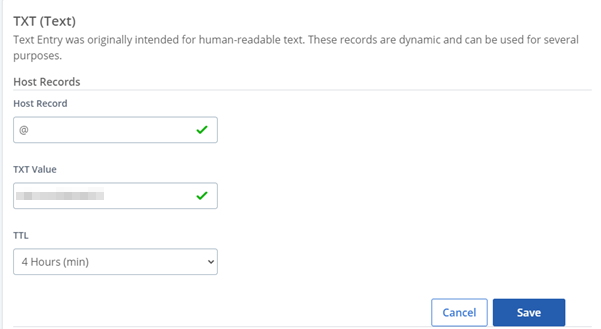
The example below is how it could look from the hosting provider’s point of view, it should match up with Microsoft but may have some different names or a different minimum value for the TTL (Time To Live):
Microsoft will then provide a list of DNS records you’ll have to add:
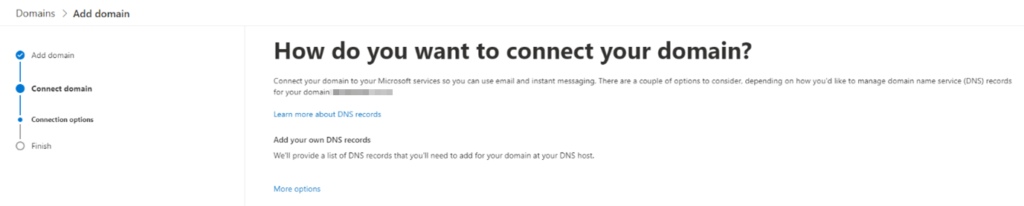
DNS records are records that lets you connect to services by linking an easy-to-read domain name to it’s host:

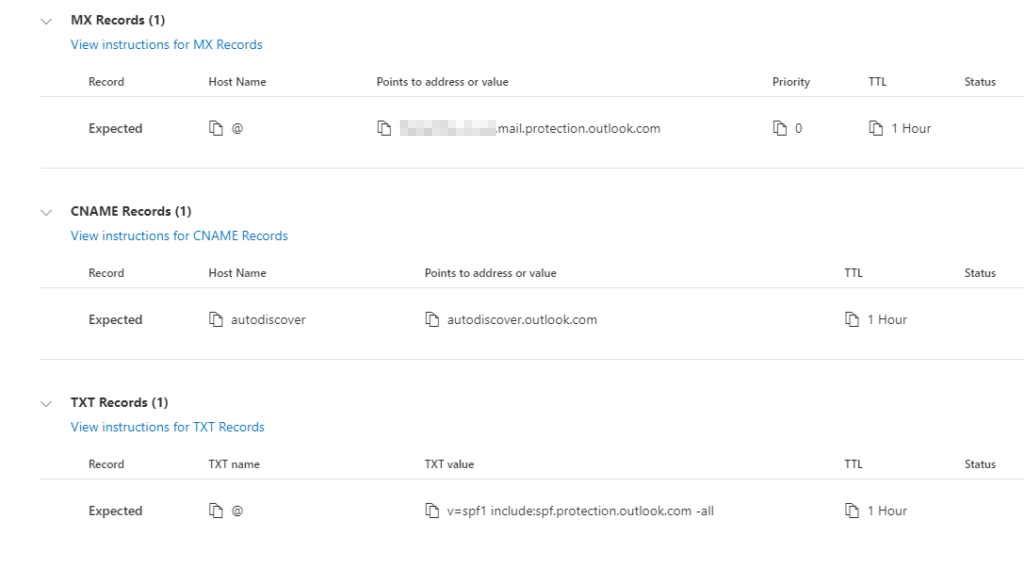
Below are the records required to start connecting your custom domain to Microsoft’s services:
- MX (Mail Exchanger) Records define which mail server handles emails for your domain.
- CNAME (Canonical Name) Records are used to point a domain name to another domain name instead of an IP Address.
- TXT (Text) Records are mainly used for verification, it can have both SPF (Sender Policy Framework) and DKIM (Domain Key Identified Mail) records which can add an additional layer of security for outgoing mail.
The additional records below are required if you need to use services such as Microsoft Teams, Skype for Business or Microsoft 365 Intune and Mobile Device Management:
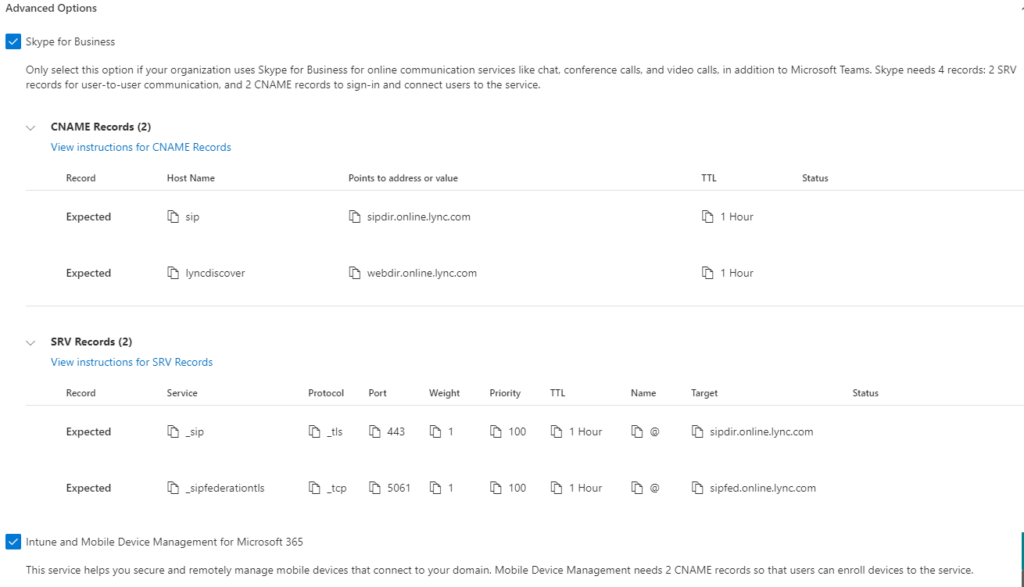
Even though you may not have use for them now, it is recommended to add these records as you may encounter issues down the line connected to certain services.
Once added, Microsoft will check the DNS records configured (this could take up to 10 minutes):
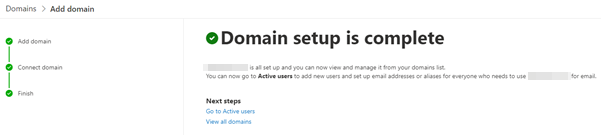
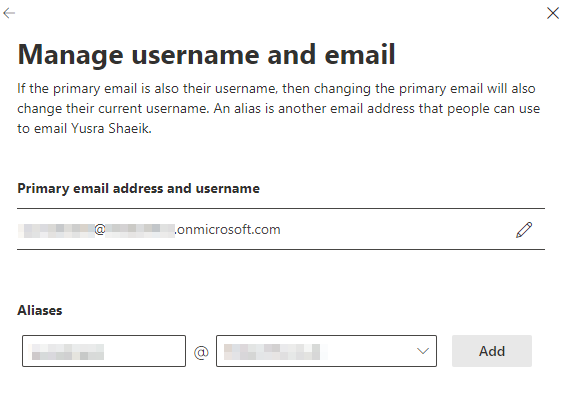
Once the domain has been added , you can navigate back to the admin center and go to Users>Active Users. You’ll then be able to change the alias from the default email address to the new one with your newly added custom domain:
Hopefully you should now be able to add a billion (not exactly a billion) custom domains to your Microsoft tenant and can start your new journey with Microsoft 365.
Any questions, feel free to leave a comment below to let me know how you got on with this or any feedback.